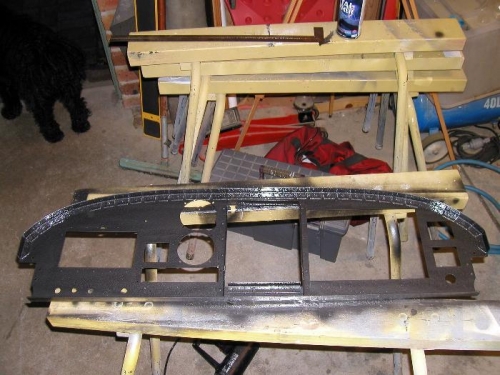
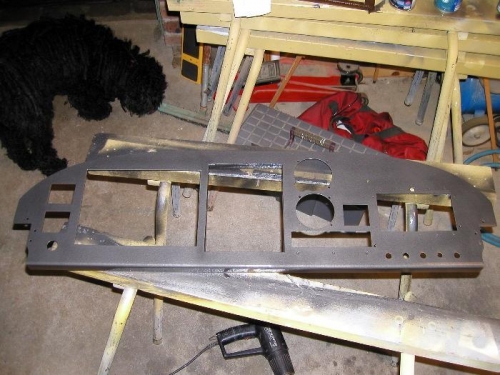
The panel took shape over about 3 days and I am pertty happy with how it turned out, except for the top right corner where I touched the wet paint with my finger, I should know better by now. Anyway I will have to let it dry and then sand and recoat.
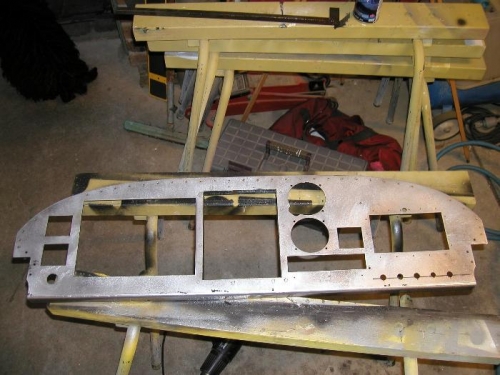
I cut the holes using a jigsaw and fly cutter.
I am installing a Dynon Skyview 10" display with transponder module, single ADAHRS, Engine monitor, and dual axis auto pilot.
Next to this will sit a Garmin 695 GPS.
Of to the side of this will be an ICOM A210 radio, and above this a standard airspeed indicator and altimeter as my backup instruments.
Last on the right is the map box and underneath this are 5 circuit breakers, the rest of the fuses will be standard automotive fuses that will live under the dash in a drop down panel.
The smaller holes on the left are the swithces for the master, alternator, fuel pump and avionics bus.
Below these is a standard key switch with Left and Right Mag etc.
The other switches to the right of the airspeed indicator are landing lights and strobes.
Rear of the panel with brackets to support the GPS and the big cutout for the Dynon Skyview