This took ages to do, you start off drilling the top skin to the rear tube of the tipup frame, but before doing that you need to make sure that the left and right ribs have their flanges at 90 degrees, a little work with the seaming pliers and its ready to go.
Once you have the skin drilled to the frame you then start the process of lining it all up, the two rear spacers that support the hinge need to be trimmed to allow the main hinge arms to slide back far enough, once you have done this the seal brackets then interfear and need to be trimmed. You pretty much take the canopy frame on and off the plane about 10 times while you get all this sorted. The last step after taping it down is to ensure that you have a 20 thou gap along the forward edge. With this done you drill the splice plate and hinge brackets.
Now it all comes off again for deburring and some riveting.
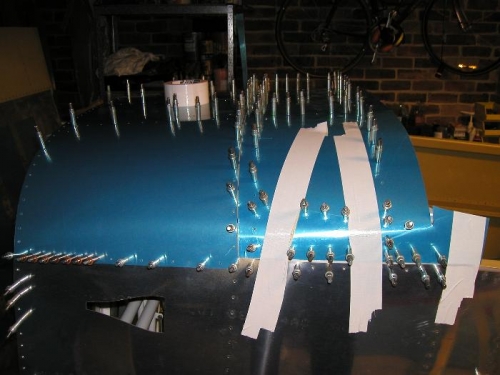
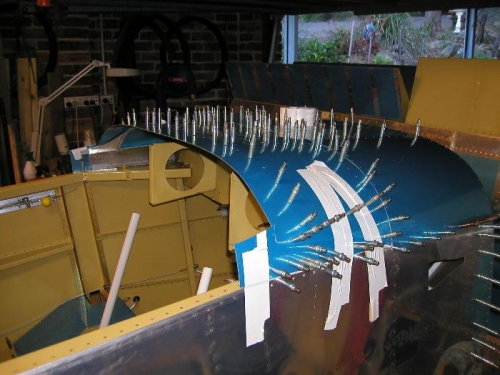
All tape down so that the splice plate can be drilled