
|

|
|
|
Eddie's Zodiac XL Project
|
Date: 3-6-2006
|
Number of Hours: 3.00
|
Manual Reference:
|
Brief Description: Back drilling the rear right skin
|
|
Once I had the right wing level, I slid the skin on top of it and lined up the pre-drilled holes with the rib station markers and the rib center lines, this was just lots of stuffing around, moving, holding, clamping, and then doing it all again, it would have been lots easier with another pair of hands but it was not to be. Finially after 1 hour of moving things around I was satisfied and started back drilling with a #40 drill from the rear to the front of the wing as suggested in the instructions. The rear ribs being quite large are easily lined up with the pre-drilled holes in the wing skins, its just a little bit of a contortionists act to have one had under the wing while you drill with the other, but slow and stead and I got there. The instructions are becoming more scarse, but its all still pretty intuitive, hope it stays like that. On a side issue 50 silver clecos is not enough to do the top skin and I ended up drilling holes out to the next size for the A4 (copper) cleco's. I think I'll need to order some more silver clecos very soon. I also added the 4 tack rivets as suggested in the assembly instructions to stop the wing from twisting when I flip it over to add the bottom skin.
|
|
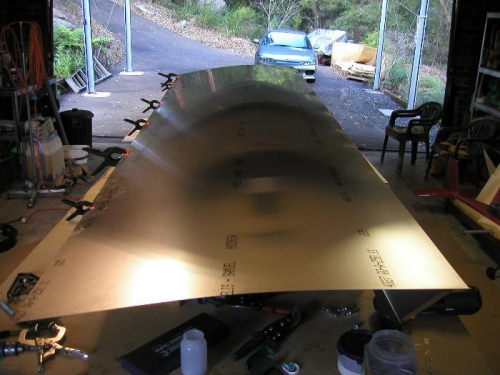
Right rear skin slid into place
|
|
Right rear skin opposite view
|
|
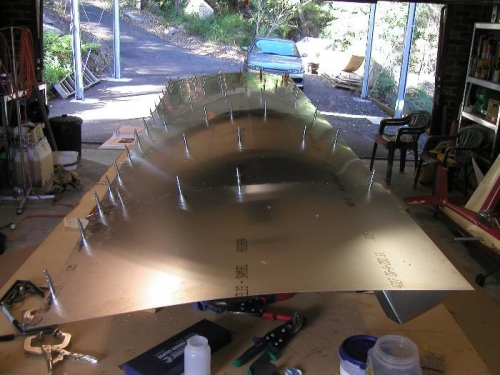
The top rear skin back drilled and clecoed
|
|
|
|
|
|
|
|
|
Copyright © 2001-2024 Matronics. All Rights Reserved.
|