Brief Description: Installed bell crank, more tailcone riveting
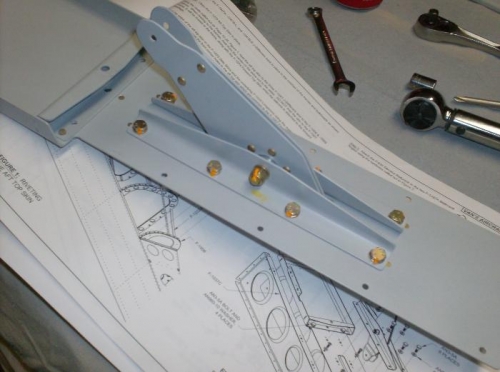
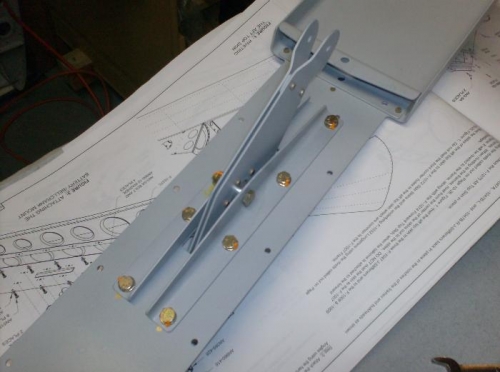
While waiting for my wife to join me for our next riveting session, I took the opportunity to knock out some non-rviting steps. In this case I bolted the elevator bell crank to the battery mount.
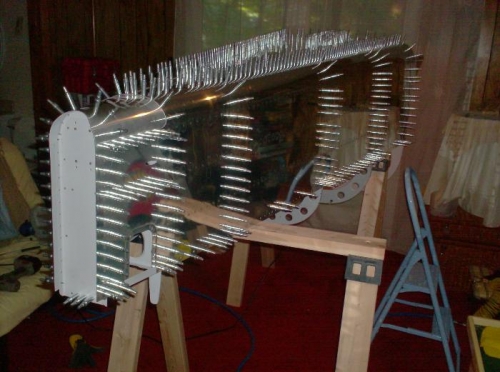
Went to Ace and picked up some little rubber grommets and washers. I then used them to apply pressure to the frame tabs on the radius which pull away from the skin once the cleco is removed. The rubber will compress which allows me to put it between the bucking bar and the tab, pushing the tab against the skin prior to setting the rivet. A quick blurp of the gun sets the rivet enough to hold the tab in-place. I then remove the gromment and finish setting the rivet.
Tailcone tipped upside down prior to 16 Aug riveting