Brief Description: Match Drill LHS Stiffener and Deburr Skin
I did a rough cut of both left and right J-stiffenesr from stock, then sanded down to the final length of 54 inches for the LH stiffener only. Marked the centerline then drilled a hole at one end. Inserted the stiffener into the assembly and matched drilled the holes to the skin.
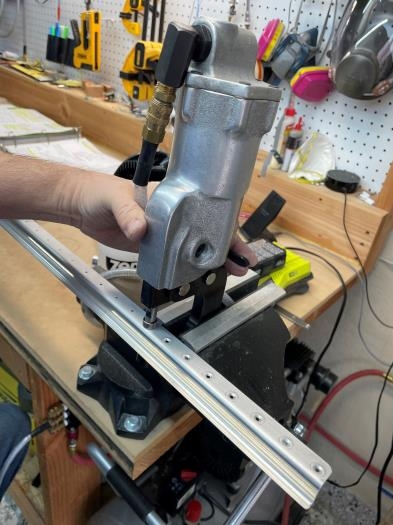
Deburred the holes, then did a thorough cleaning with acetone to remove all oil, grease and markings. Scuffed the mating surface of the stiffener with ScotchBright, then cleaned again with acetone to remove all the residue from scuffing. Once it was clean I dimpled the stiffener using the sub-structure dimples and set it aside for later installation.
Cleaveland Tools sells another set of dimples for tanks that have a 0.011 in. deeper dimple so there's room for sealant. Van's does not like these dimples because it makes for structurally weaker joint if you have sealant in between the dimples. The video that Vans put out outlines the sealing philosophy which is seal from the inside out. So I bought those deeper dimple dies, but I'm not going to use them.
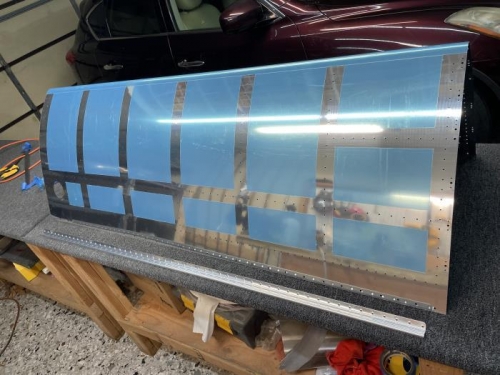
I also spent some time deburring the skin, but I still have a lot more to do before I'm done with it. Today I just knocked off the big nubs left over from cutting off the splice strips and did a rough file of all the edges. The next step is to smooth out the edges with a crowfoot tool, but that's for the next session.